What is CyberPanel and how to install in 5 Easy Steps
Why Is It So Powerful and Beginner friendly?
CyberPanel is a free and powerful web hosting control panel. Unlike cPanel, DirectAdmin, and Plesk there are no monthly licensing fees with CyberPanel, and you can host unlimited websites and domains on your VPS all with Free LiteSpeed Technology for optimized web performance. This makes it an excellent and cost-effective solution.
Even if you have never used a terminal before, don’t worry. This article guide will walk you through every single step in a simple, clear and easy to understand way.
Step 1: Order Your VPS and Choose AlmaLinux 9
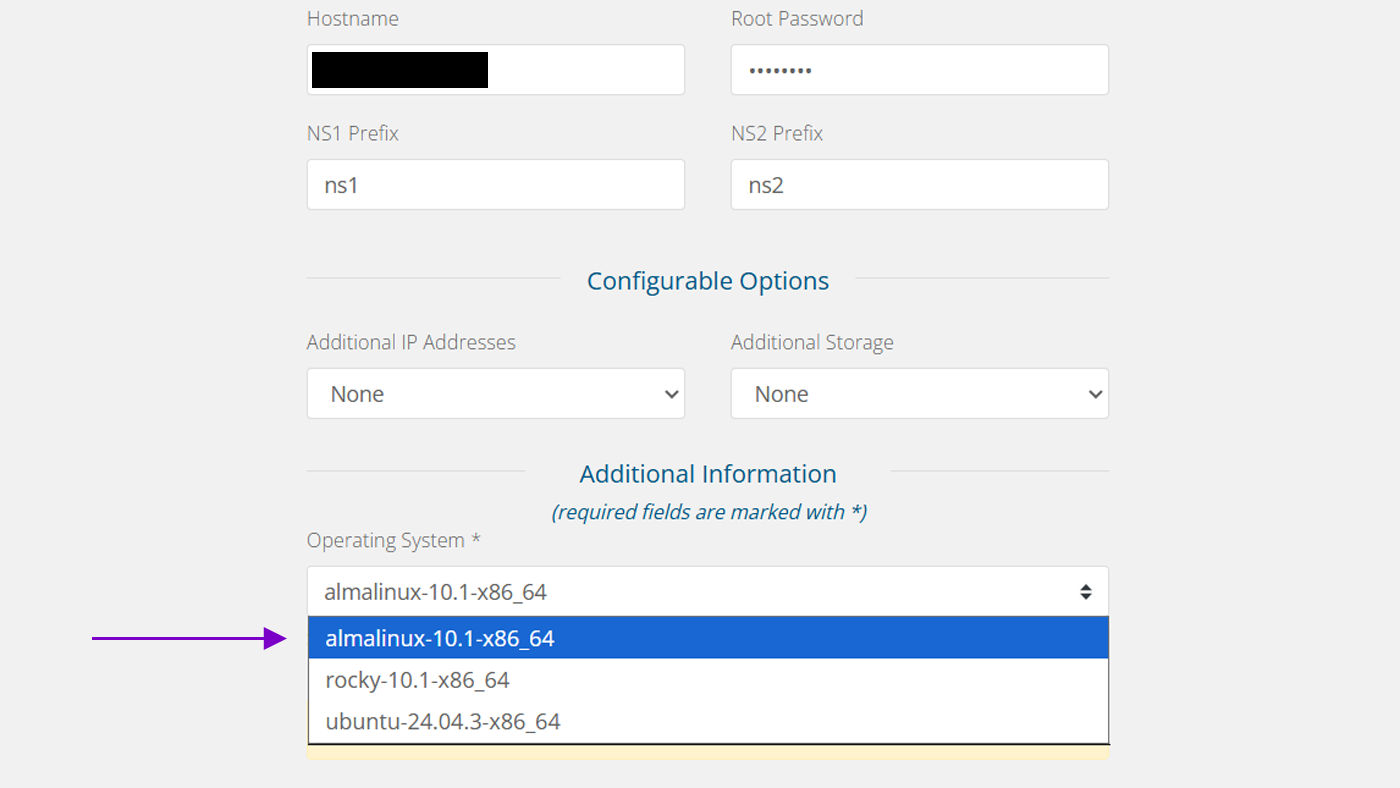
When ordering your VPS at DeeDeeHost, you can choose the operating system directly during checkout. We recommend selecting AlmaLinux 9 because it is stable, secure, and works very well with CyberPanel.
If you already ordered a VPS with a different operating system, follow the steps below (otherwise continue to step 2):
- Log into your client area → Open your VPS management page
- Click Reinstall Operating System
- Select AlmaLinux 9 and wait for it to finish

Step 2: Open the Console to Control Your Server

In your VPS management panel, click the button called Console or Terminal. This opens a control window directly in your browser. No extra software is needed.
When the window opens, type root as the username and enter your root password (sent to you by email).
Step 3: Update Your Server

Copy and paste the following command into the Console and press Enter:
dnf update -yAfter it finishes, type this command to restart:
rebootWait about one minute, then reconnect to the Console.
Step 4: Install CyberPanel

Copy and paste this command:
sh <(curl https://cyberpanel.net/install.sh || wget -O - https://cyberpanel.net/install.sh)When prompted, choose Install CyberPanel and select OpenLiteSpeed. The installation usually takes 10–30 minutes.
Step 5: Log in to CyberPanel

After installation completes, you will see the login link and password. Open your browser and go to:
https://YOUR-VPS-IP:8090Log in with the credentials provided. You can now add unlimited domains and install WordPress with one click.
Final Thoughts
Installing CyberPanel might look complicated at first, but if you follow the steps one by one, you will get a powerful and very cost-effective hosting environment with unlimited domains.


